

How To Change Color Of A Template In Photoshop
Later on creating a shape in Photoshop, you might not have the right color that you're looking for. Luckily at that place are a variety of easy ways to change the color of any shape you lot create. From solid colors to gradients, at that place is a ton of options to conform your style. Let's start things off with the virtually bones way of changing the color of a shape in Photoshop.
To change the color of a shape in Photoshop, select your shape layer in the Layer Panel, then printing U to activate the shape tool. In the upper settings bar, a "Fill up" option will appear. Clicking on the Fill setting, pick a new color from the provided colour swatches to employ to your shape.
This easy method allows yous to change the color of a shape in seconds, but this only covers the tip of the iceberg. So let's dive into this procedure more in-depth to provide you with the nearly color-changing options!
How To Change A Shape's Color In Photoshop
Step 1: Create A New Shape Layer
Let's not get ahead of ourselves hither and outset changing colors before you take a shape!
Press U on your keyboard to access the shape tools or find it in your toolbar to create a new shape.
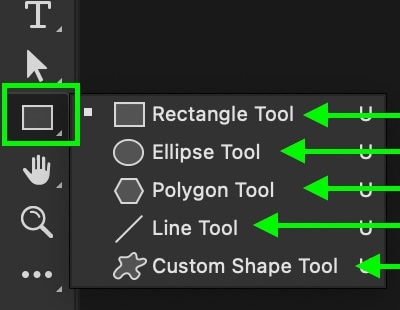
At that place are diverse shape tools available in Photoshop, from circles, rectangles, triangles, and custom shapes. To locate these unlike tools, click and concord on the shape tool icon to reveal the related tools.
Alternatively, you can press Shift + U to cycle through the different shape tool options.
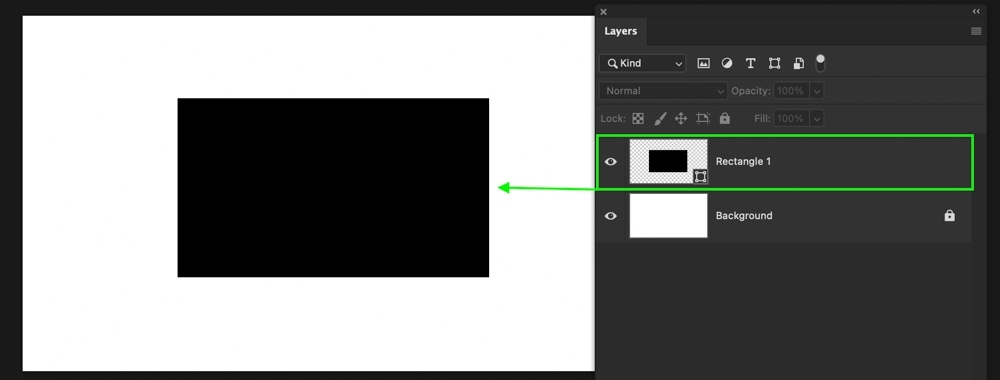
With your desired shape tool selected, click and elevate out on your canvas to create a new shape. This will add your shape to your canvas and create a new shape layer in the Layer Console.
If you lot are having a hard time creating a shape like shown above, brand sure your tool mode is gear up to "Shape" in the upper settings bar.
Step 2: Select The Shape Layer In The Layer Console
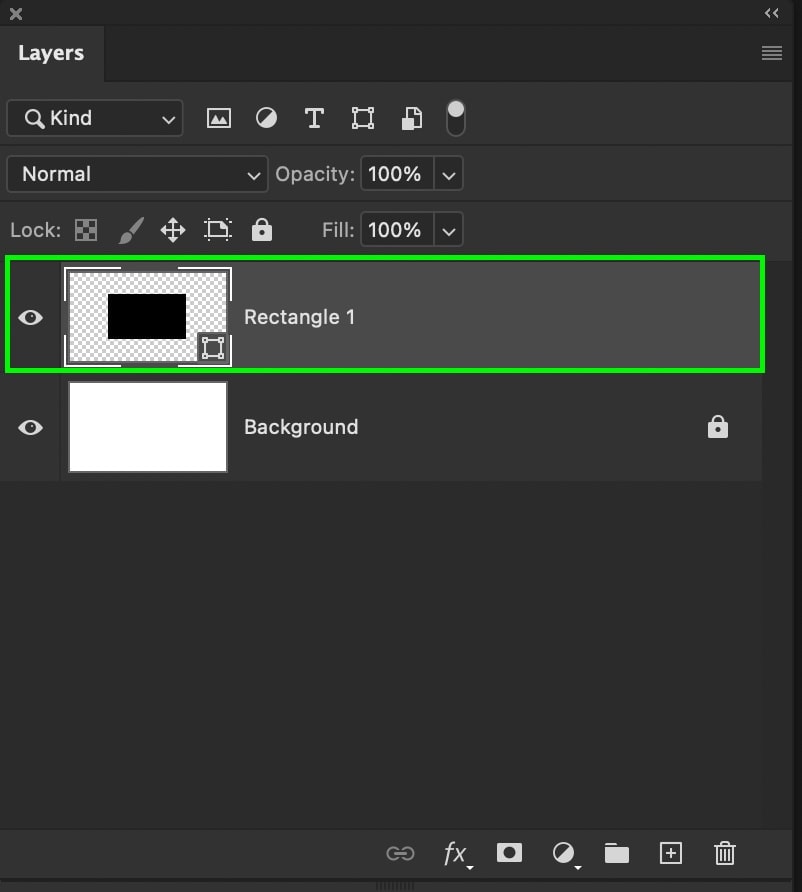
This should exist washed automatically if you just created a new shape on your canvas. If not, only click on the shape layer to select it indicated by the highlight.
Stride 3: Select The Shape Tool
With the shape layer selected, ensure that the shape tool is active to reveal your color fill and stroke options in the upper settings bar.

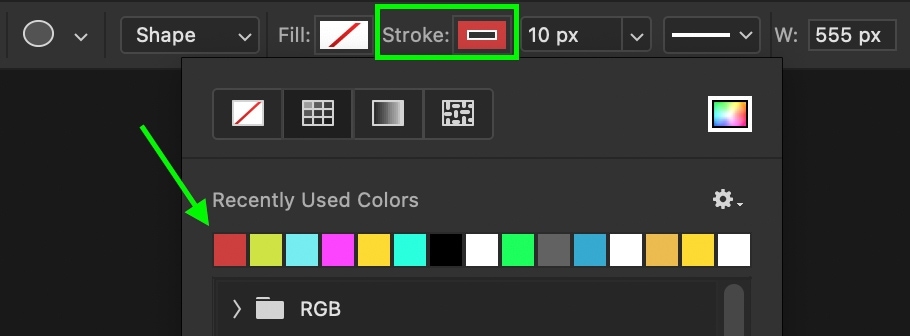
Step 4: Click The "Fill" Setting In The Upper Settings Bar
Now you will see a "Fill" and "Stroke" setting in the upper setting bar. As long every bit your shape layer is selected, you will run into the agile colors displayed hither.
To change the general colour of your shape, click on the Make full choice.

A panel will reveal itself with diverse preset color swatches and a list of your recently used or sampled colors. These provide a fast way to find a solid colour to add together to your shape.
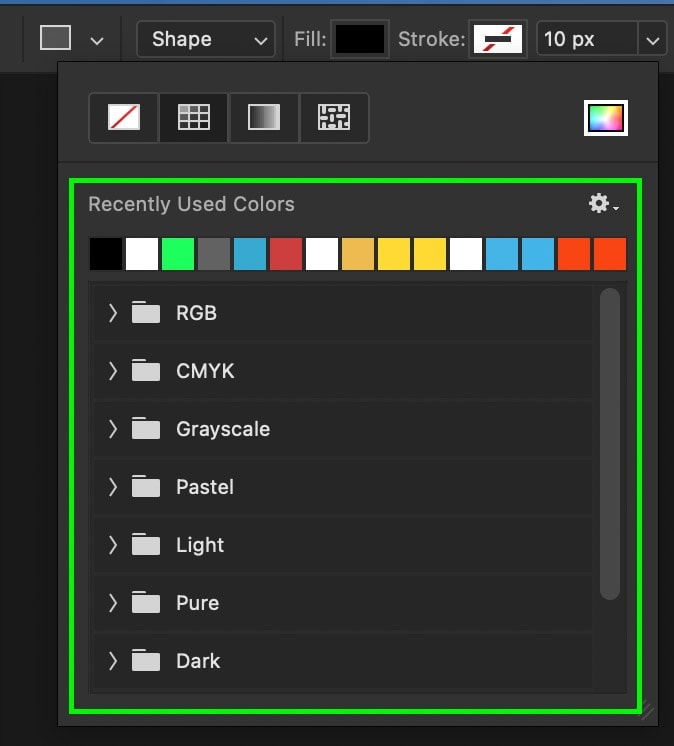
If you don't see the color y'all want, click on the color picker option in the upper right corner of this panel.
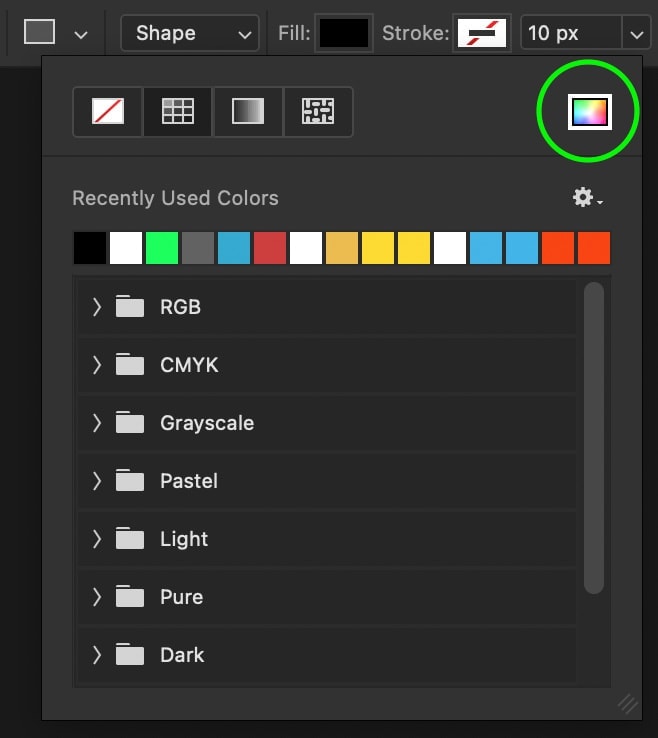
In the color picker that appears, you tin select the perfect color to fill your shape with. Then, one time y'all're happy, press OK to use the colour to your shape.
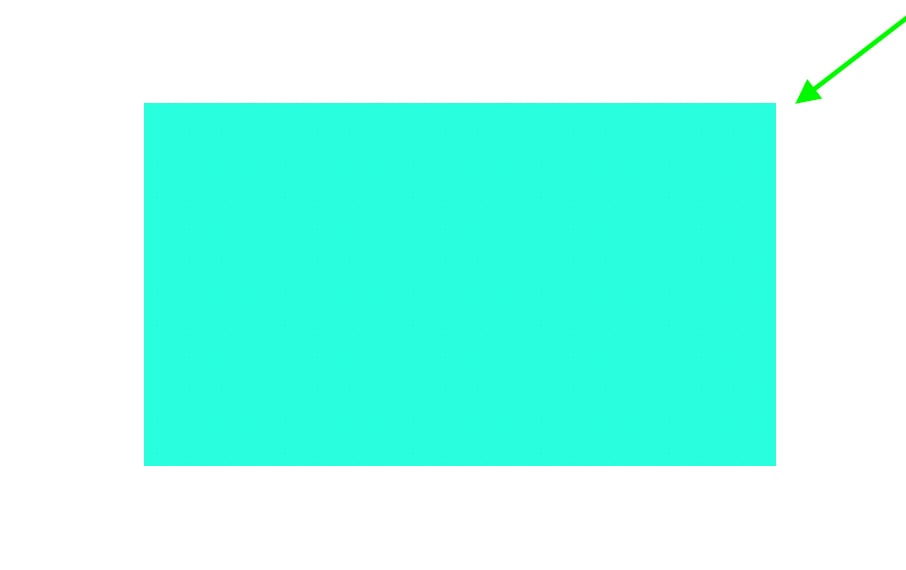
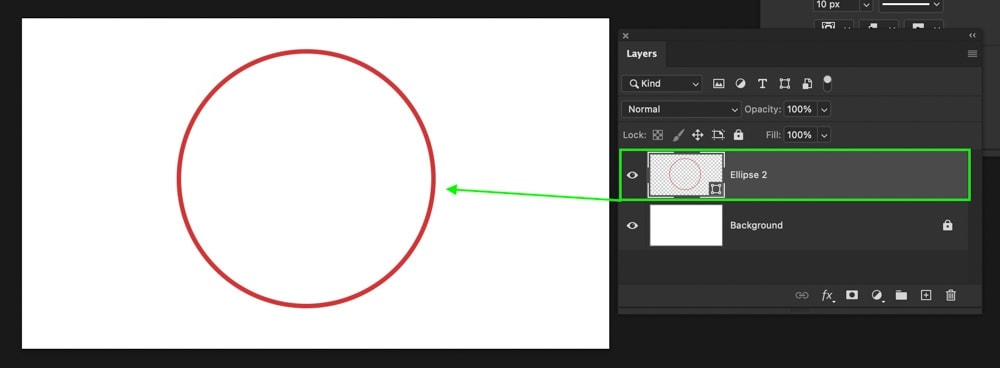
After changing the fill colour, your shape volition take a brand new color applied!
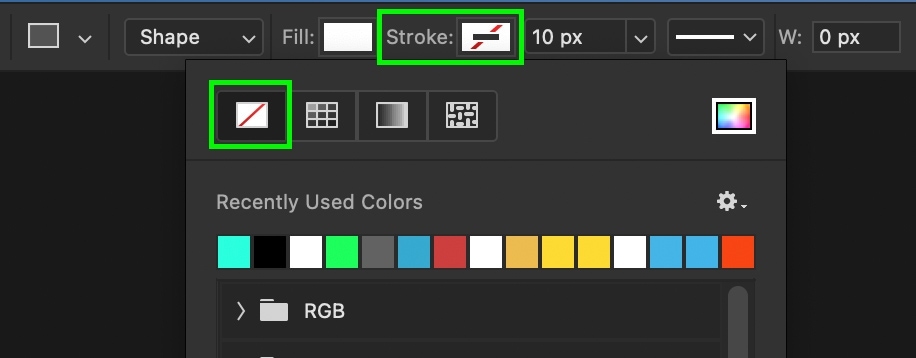
Pace five: Click The "Stroke" Setting In The Upper Settings Bar
The stroke setting controls the outline color of your shape. In this case, I do not want an outline around my shape. The steps below will share how to make the outline transparent. To learn how to outline annihilation in Photoshop, check out this tutorial.
Clicking in the stroke setting, select the white box with the ruddy line through information technology to make the outline invisible. This way, you lot will but see the fill colour of your shape.
Step 6: Adore Your Shapes New Colour!
With these easy steps, you take now successfully modify the color of your shape in Photoshop.
How To Change The Colour Of A Rasterize Shape In Photoshop
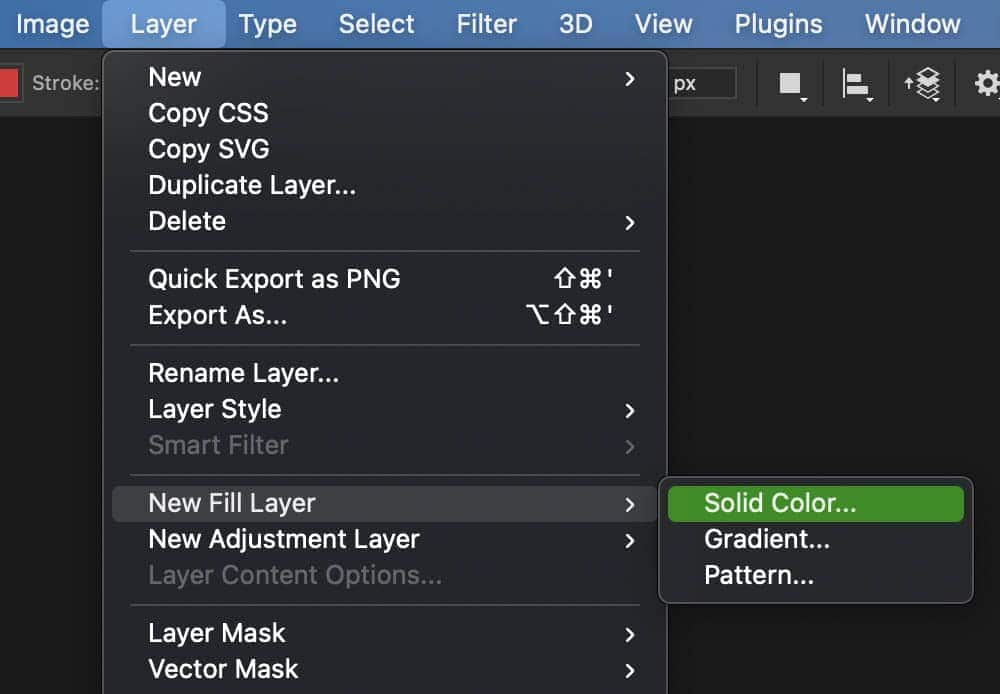
To change the color of a rasterized shape, create a new color fill layer by going to Layer > New Make full Layer > Solid Color and set your desired color. Placing your make full layer above the shape layer, add a clipping mask to the colour fill up layer to fill the shape with your new colour.
If your shape is rasterized, the method in the previous department will no longer work. Luckily using a color fill layer provides an easy workaround for this event.
Later rasterizing a shape, you lot are left with a unmarried rasterized shape layer in the layer panel. Now y'all demand to create a color fill layer above this shape.
To create a new color make full layer, go to Layer > New Make full Layer > Solid Color. From the options that appear, rename your layer to stay organized, and so select a color you want to add to your shape. Don't worry; this can be inverse subsequently.
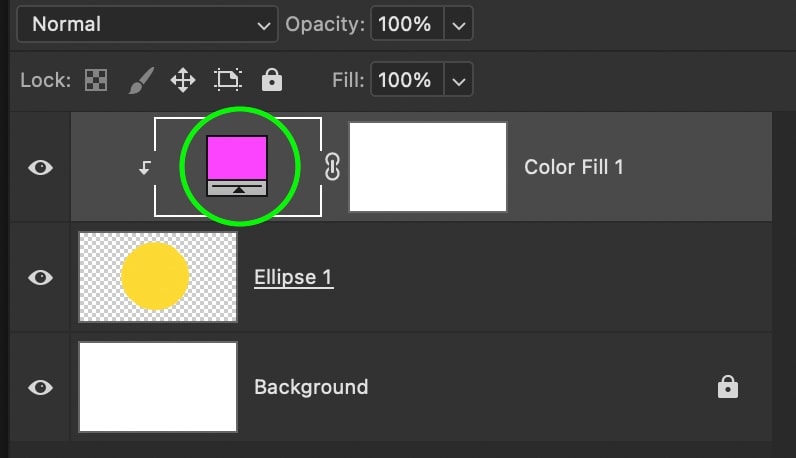
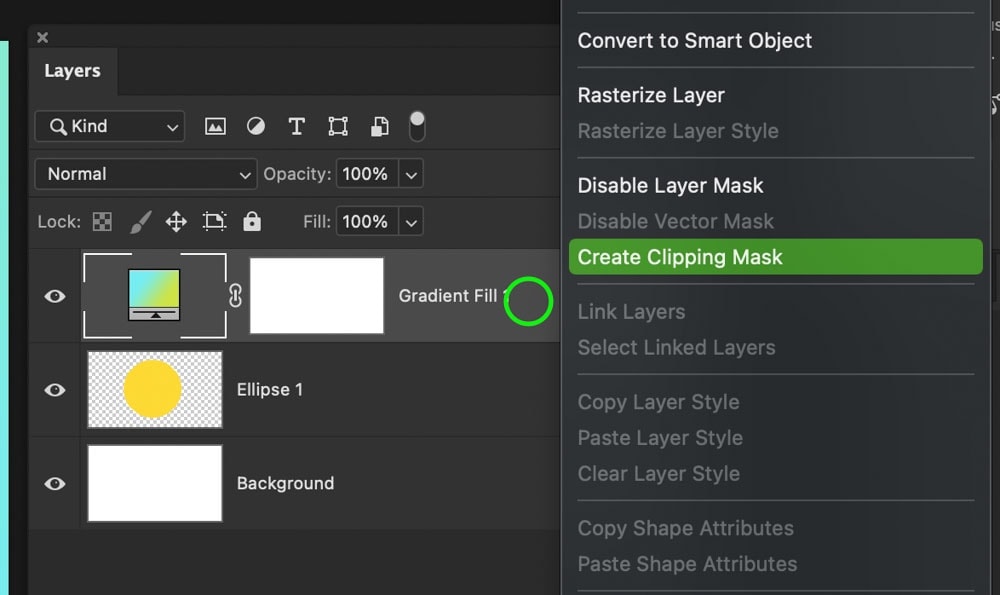
With a color chosen, make certain that your color fill up layer is in a higher place the shape layer in your Layer Console.

Now right-click on the color fill layer and choose "Create Clipping Mask."
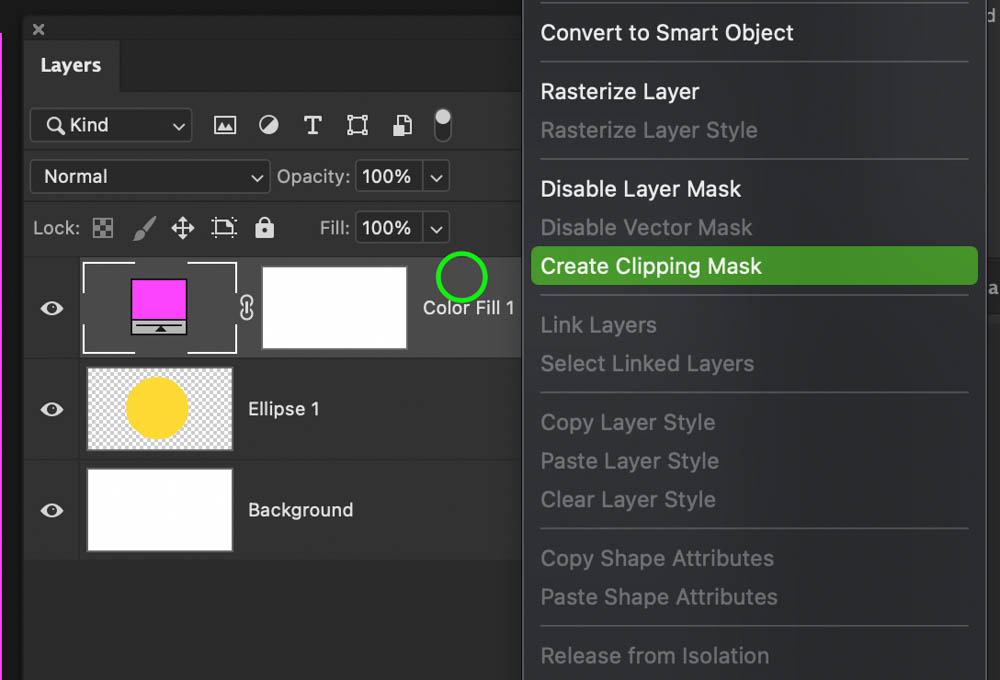
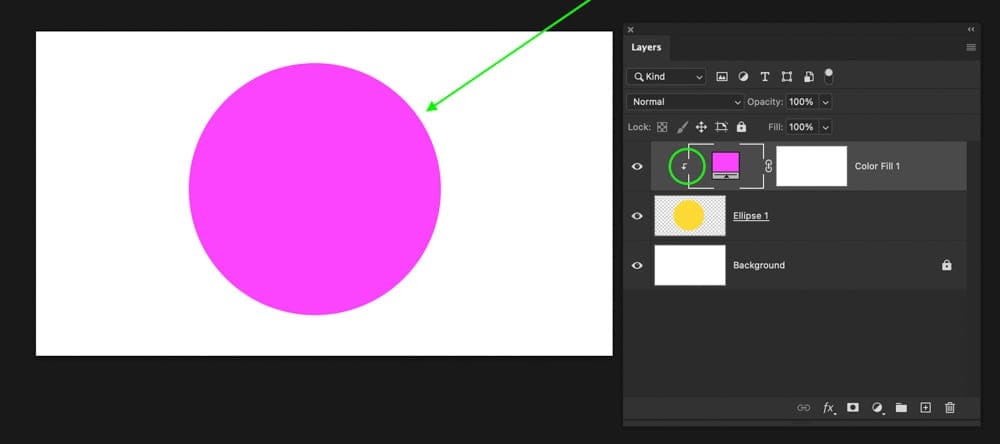
The color fill layer volition go restricted to the shape it is clipped to and supercede the original make full colour.
If you want to change this color afterward on, simply click on the color fill layer icon to open the color picker and select a new color.
This is another piece of cake way to alter a shape's color in Photoshop that comes in handy when working with rasterized shapes!
How To Fill up A Shape With A Gradient In Photoshop
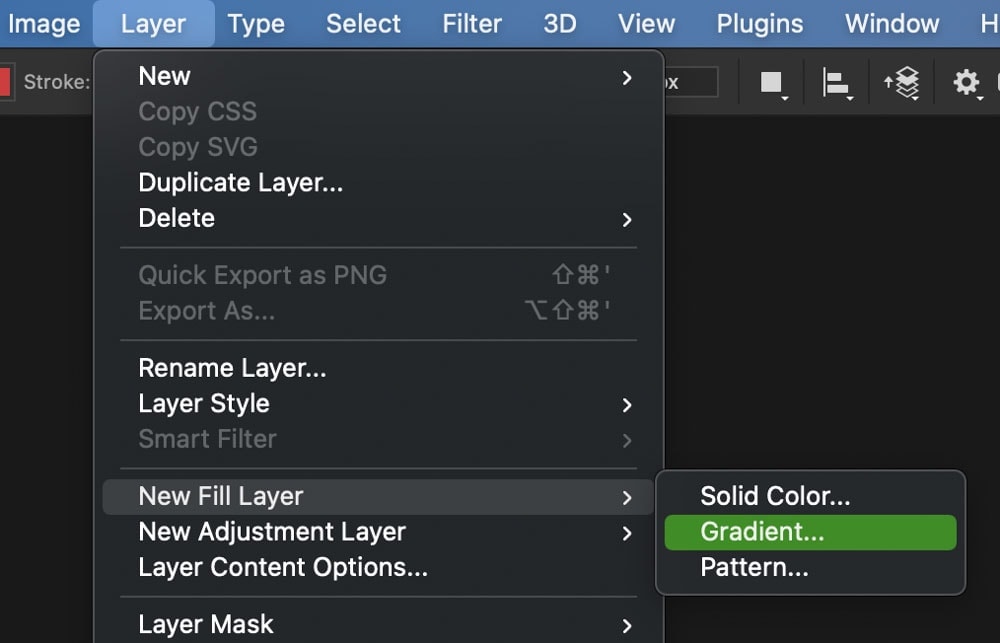
To fill a shape with a gradient in Photoshop, create a new gradient fill layer by going to Layer > New Fill Layer > Gradient. One time your gradient fill is made, identify it above the shape layer, then right-click on the gradient layer and cull "Create Clipping Mask" to fill the shape with a slope.
Permit's pause this down more in-depth.
Beginning, create your shape layer using the steps mentions earlier in this article if you have yet to practise so. Then get upwards to Layer > New Fill Layer > Gradient to create a new gradient make full layer.
In the gradient fill panel, yous tin can choose between a wide range of gradient options and admission the gradient editor. For the sake of example, let's create a new gradient.
First, click on the Gradient Editor.
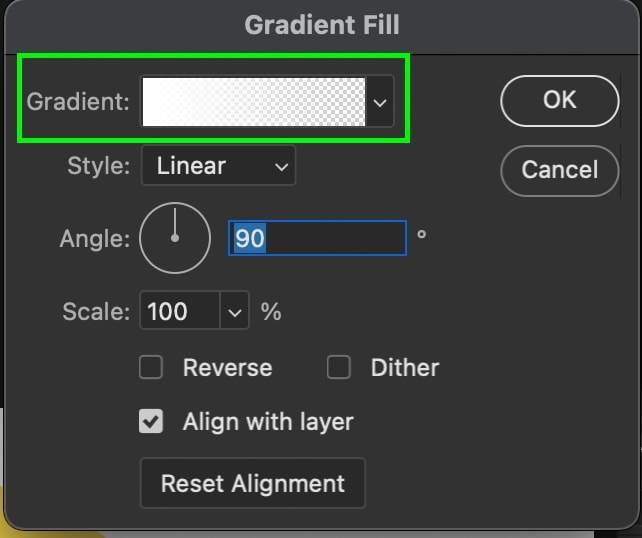
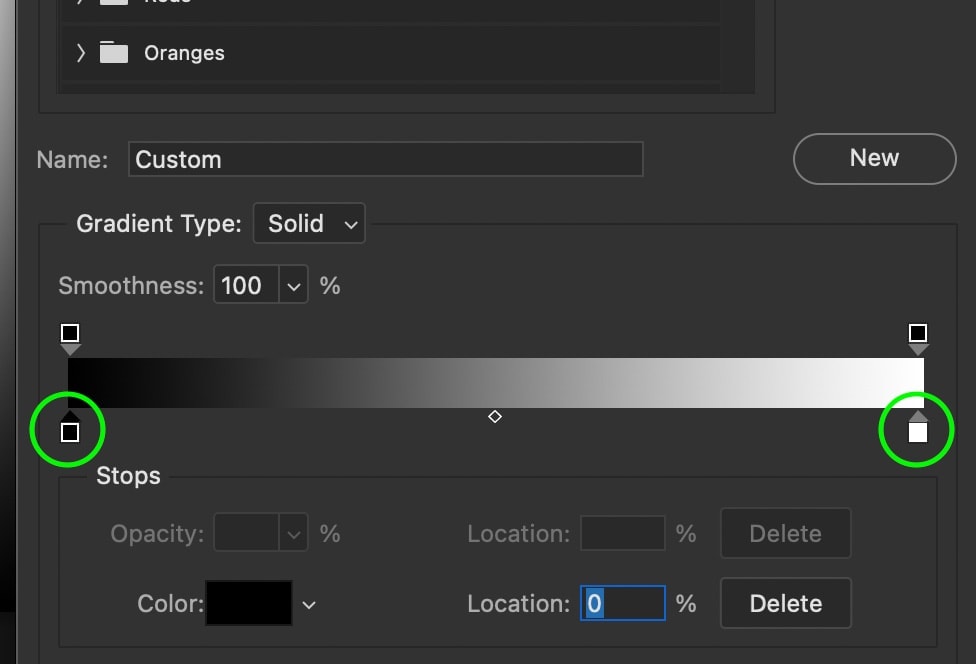
So open the "Basic" folder and select the "Black, White" gradient preset.

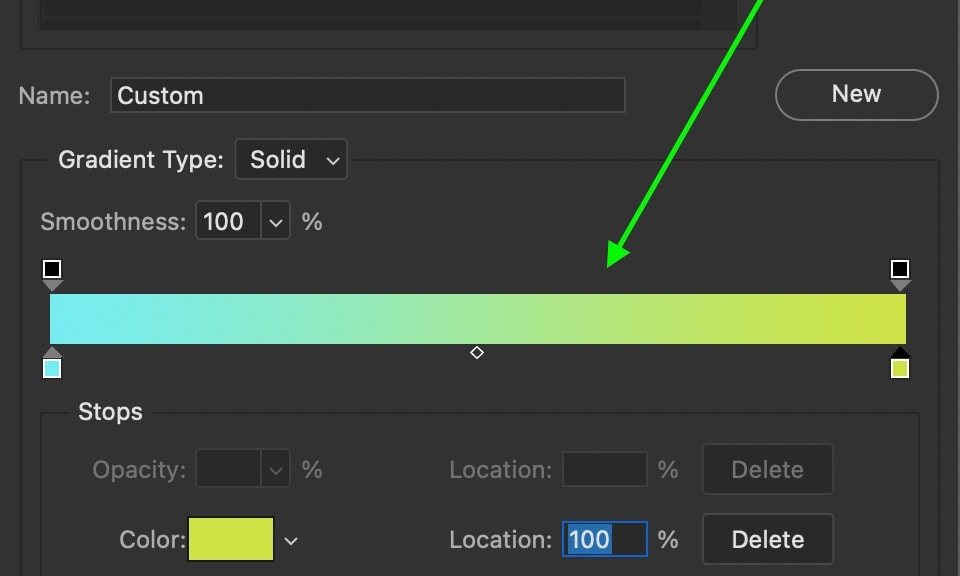
In the gradient preview, double click on the black and white color swatches to modify their colour. In this case, I will switch my gradient to something more than colorful, then click OK to leave the slope editor.
At present you can cull the settings for how your gradient appears. I break downwardly each of these settings more in-depth in this tutorial, and then I will go on it brief here.
Since I want a slope that transitions in a line from one color to another, I'll select the Linear Slope option. I'll then adjust the angle to change where my gradient is coming from.

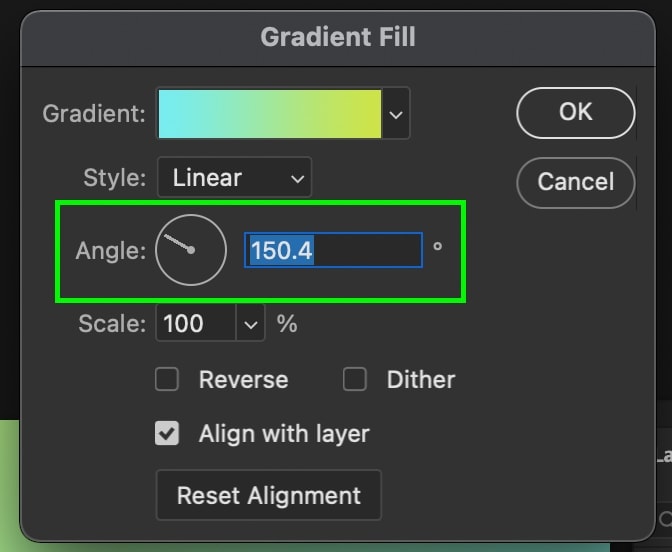
Once you're happy with the adjustments yous've made, click OK to exit the gradient fill options.
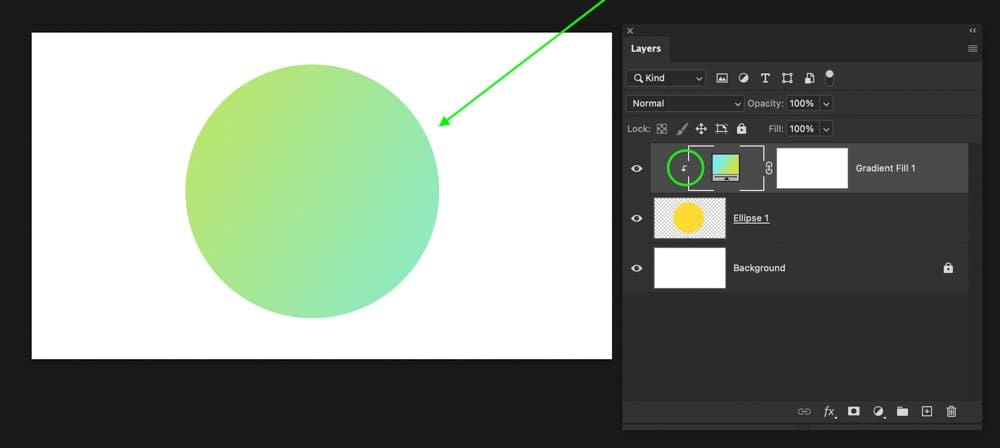
Now your gradient will take over your entire canvas, but non to worry! Clipping masks are hither to salve the day. Simply right-click on your gradient fill layer and select "Create Clipping Mask."
Now the gradient volition only exist visible inside of the shape layer it is clipped to, finer filling your shape with a gradient in Photoshop!

If you desire to edit your gradient make full later on, you tin can double click on the gradient layer fill up thumbnail to adjust your settings.
How To Make A Shape's Color Transparent In Photoshop
To make a shape'due south fill color transparent in Photoshop, select the shape layer in the Layers Panel, then select the Shape Tool (U). In the upper settings bar, click on the "Make full" selection and select the white color swatch with the red line through it. Now your shape's make full color is transparent.
This tin be extremely useful if y'all only desire the outline of a shape rather than ane filled with solid colors.
To give y'all a amend agreement, let's break the process down step by step.
Beginning, select your shape layer from the Layers Panel or create a new shape if you oasis't already.
Now access the Shape Tool to reveal the shape settings in the upper bar. From the options hither, click on "Fill."
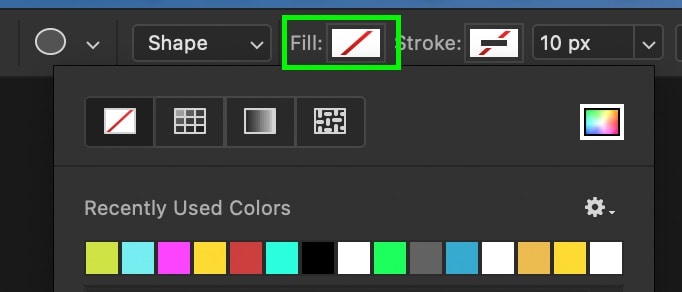
Inside the panel that appears, you lot will find a white color swatch with a red line through it. This represents transparency, so when it's selected, the color of your shape will be invisible.
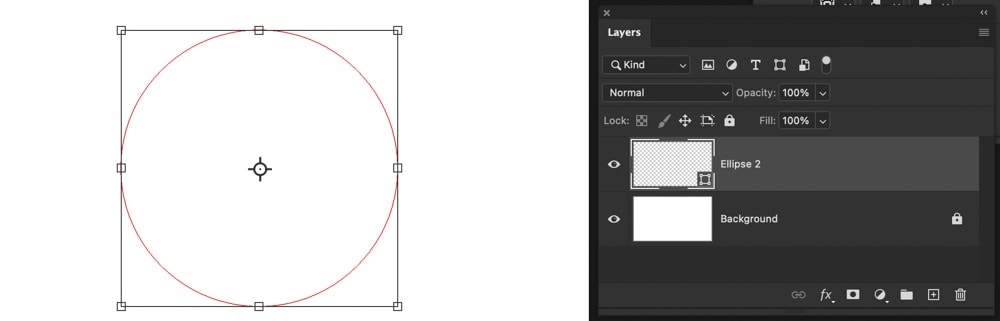
At this point, your shape is entirely transparent, but allow's add an outline so we can apply this shape for something. Clicking on the "Stroke" choice, select any color to outline your transparent share with. And so adjust the stroke width to change the thickness of the shape'southward outline.
Now you lot're left with just the outline of your shape that'due south perfect for stylizing your images with!
Using the steps you learned throughout this postal service, you lot now know how to change the color of a shape in Photoshop similar a pro. From solid colors, gradients, or transparent shapes, it can all be done in just a few clicks!
Happy Editing,
Brendan 🙂
Source: https://www.bwillcreative.com/how-to-change-shape-color-in-photoshop/
Posted by: steelesmilley.blogspot.com
0 Response to "How To Change Color Of A Template In Photoshop"
Post a Comment